Make Your Blooms Bloom and Create Three Pretty Floral Cards
- gracethrufaithgoods
- 03/29/2024
- DIY Tutorials
Hello there! This is Lisa from My Card Excursion and I am pleased to be back again in this article on the Spellbinders web site with you. Currently, I am sharing three strategies utilizing the attractive new assortment from Yana Smakula. This collection is called Let us Celebrate and it is unquestionably a purpose to do just that! You’ve bought some gorgeous new press plates, a die set, and a wax seal, together with the most up-to-date in the line of BetterPress Registration Press Plates. There is also a coordinating layering stencil established for the new BetterPress Registration established if you want to include some a lot more possibilities for making use of it.
I had a blast producing with these items! So, let us get begun with my initial card.
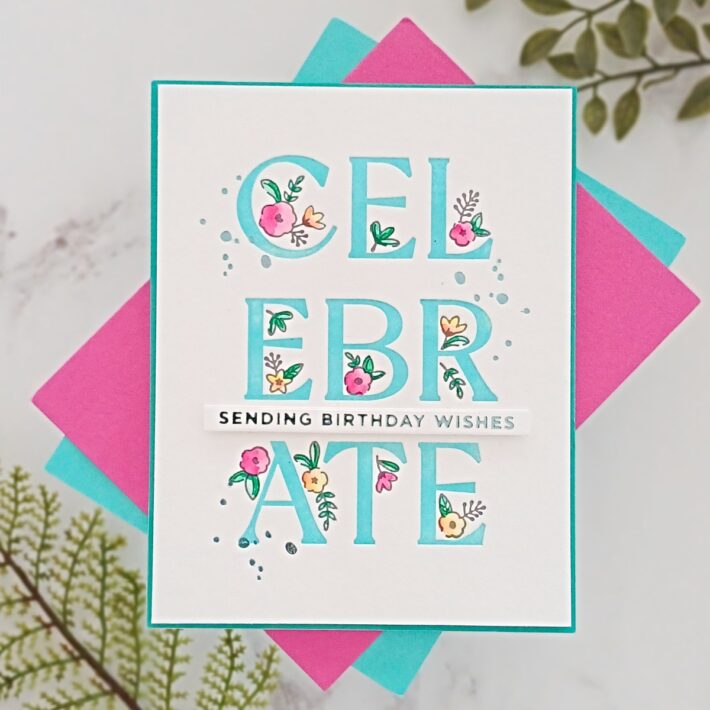
Celebrate – Sending Birthday Wishes
For this card I am making use of the Rejoice Flowers Registration Press Plate which I really like! You may try to remember that Spellbinders launched a Christmas foiling set very last calendar year referred to as Joyful Glimmer Scorching Foil Plate which was so really gorgeous. Perfectly, this new push plate is comparable in type and equally as attractive.
I started off by laying down the printed mylar registration template on to my BetterPress LetterPress Method magnetic platform. I utilised some very small items of Most effective At any time Craft Tape to secure it in spot. I then took the “Celebrate” plate from Celebrate Flowers Registration Press Plate and lined it up in accordance to the template. It was then inked up with Teal Topaz BetterPress Ink. I taped a panel of A2 Porcelain Cardstock on to the underside of my platen (apparent top rated plate), snapped the platen on to the magnetic platform and then ran the total technique through my Platinum 6. I recurring the approach to make guaranteed that I obtained a great coverage of ink on the letters.
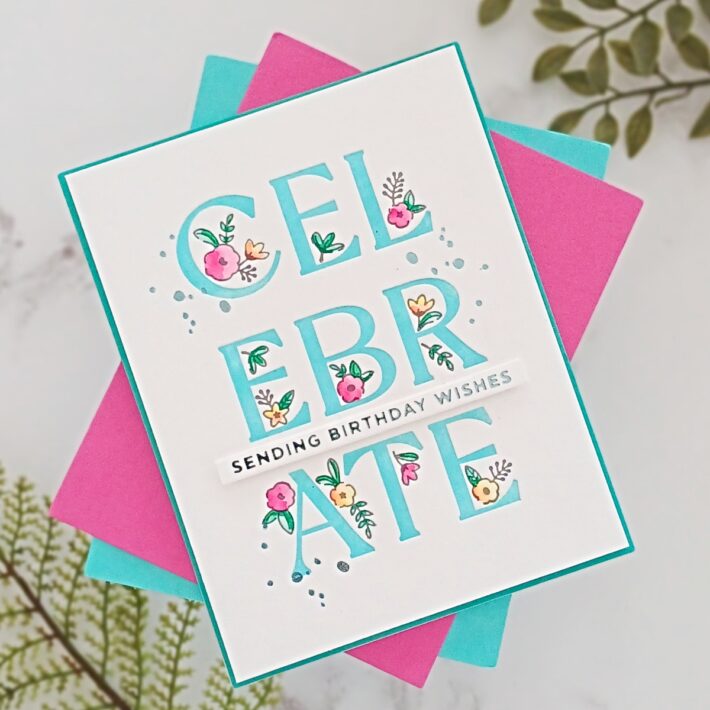
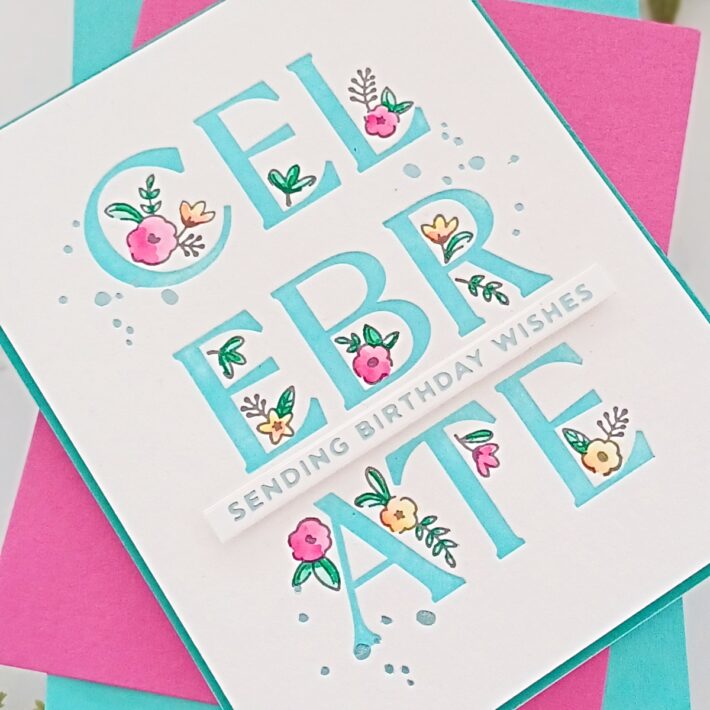
For the floral accents, you require to line up the next plate according to the guidebook. This time I inked the plate up with Thunder BetterPress Ink and ran it by my die-chopping machine. Those people beautiful tiny floral accents line up flawlessly! As the BetterPress Inks are water-resistant, I watercolored the bouquets with Karin Markers using Ocean Teal for the leaves, Gold and Magenta for the flowers, and then a little little bit of Orange Red above the yellow bouquets, just to incorporate some distinction.
My sentiment is from Mini Daily Sentiment Glimmer Incredibly hot Foil Plate and Die Established. I foiled it onto a white card making use of Skybright Glimmer Scorching Foil and the Glimmer Warm Foil System. It was trimmed with the sentiment die provided in the established and then put to a single facet.
It was at this stage that I thought it would appear further rather if I included some faux splatter all over the letters. So, I utilized the smallest splatter foil plate from Splatter Sentiments Glimmer Warm Foil Plate and some Skybright Glimmer Very hot Foil to increase the detail. I love how this finished up on the lookout!
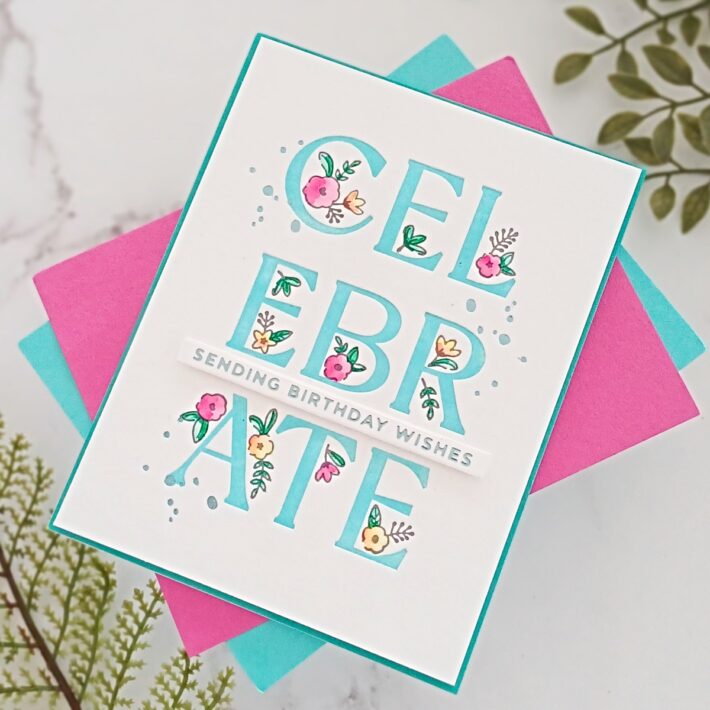
To end, I trimmed the panel down a little bit and then added it onto an A2 panel of Teal Topaz Coloration Essentials Cardstock with some slim foam tape at the rear of. This was then adhered to a major folding A2 white 110lb notecard. The sentiment was then adhered on major applying a tiny amount of money of skinny foam tape.
Let us Celebrate
For my future card I used the amazing Peony Celebration Etched Dies. I have saved my card truly cleanse and straightforward so that this magnificent bloom will take heart stage!
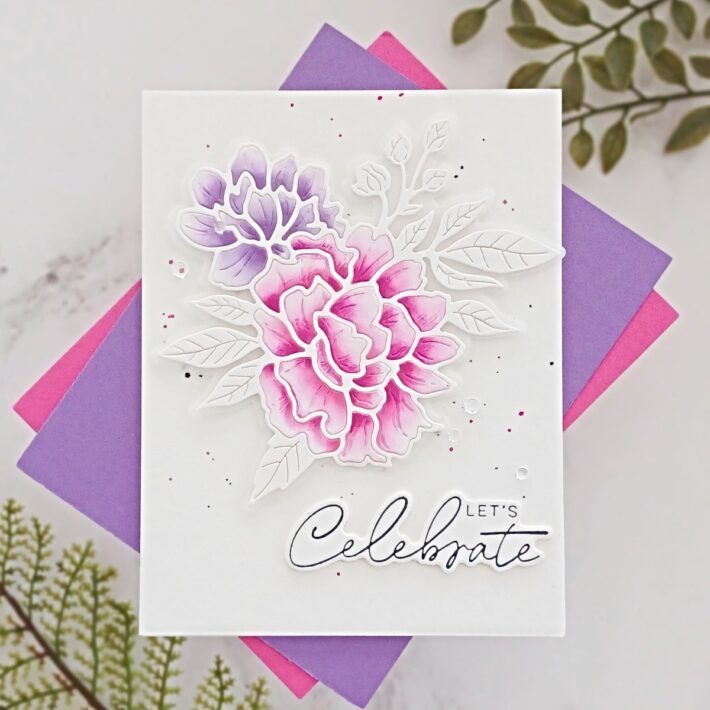
To start, I cut the shadow die from some vellum and the define die from 80lb white card. I adhered the define piece onto the vellum with some Bearly Artwork Glue. You don’t will need to be truly exact with making use of the glue on to the skinny traces of this die reduce as you will be filling in every section of the bouquets and if you have any excessive glue displaying on the vellum, it will get protected up. Set this to the side as you will be needing this a bit afterwards on following your colouring.
Idea – You could lower the define die with some double-sided adhesive sheet on the again of your white card and then you never have to have to worry about any excessive moist adhesive.
Future, I took a panel of 80lb white card and additional some masking paper on to the again. I ran it through my Platinum 6 die slicing machine. For the reason that I experienced included some masking paper to the back of my card, this made an additional thickness, and all the items have been subsequently held in place right after slicing.
If you find any parts are dropping out, just include some Greatest At any time Craft Tape onto the back again to keep them in area.
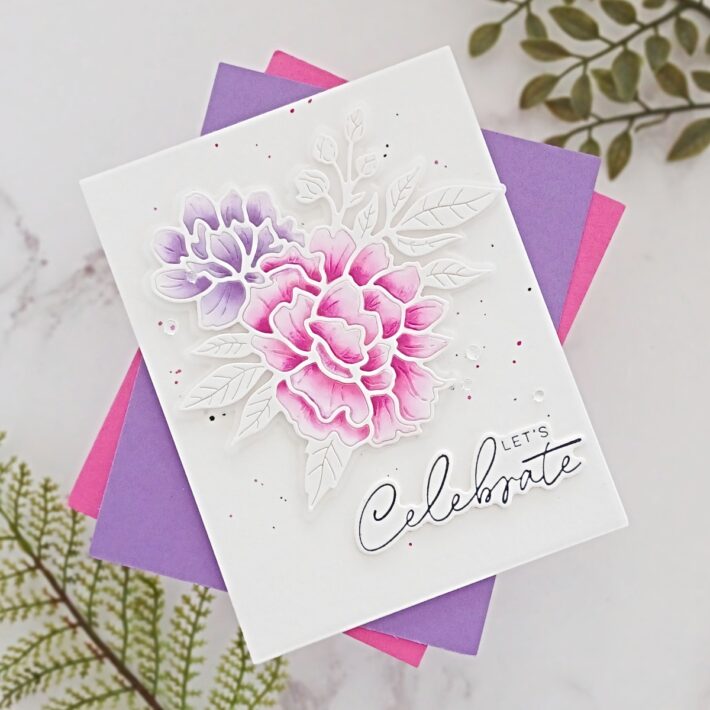
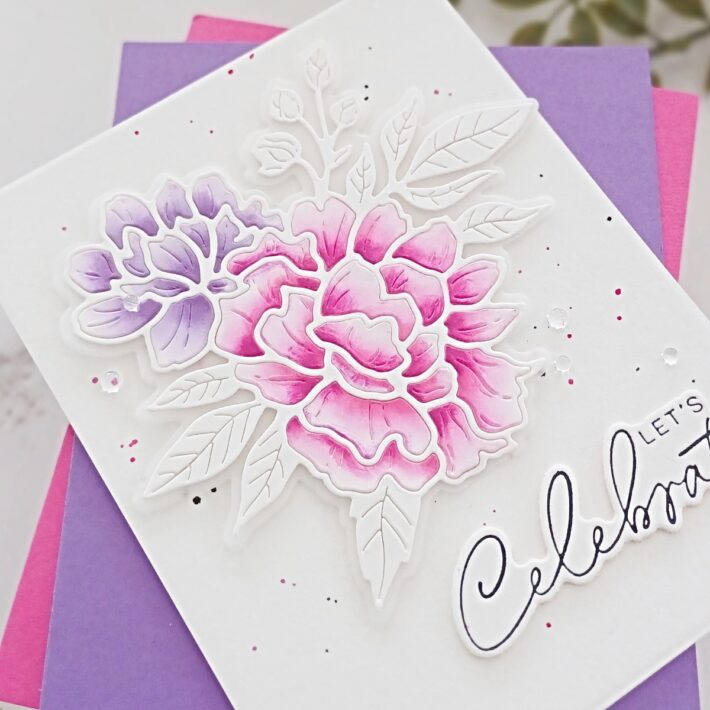
I took each individual of the petals out a person by 1 and blended ink onto them. For the smallest flower I employed a few shades of purple and applied the ink with a little shader brush. For the biggest flower, I made use of 3 shades of pink and yet again used the colors with a compact shader brush. The inks I used have been Shades of Purple Dye Inks and Cherry Blossom Dye Inks from Altenew. You could also colour each individual petal with liquor markers – that would glance definitely quite much too!
Immediately after ink mixing just about every petal, it was then placed again into my masked paper die cut. After I had coloured all the petals, I was then ready to transfer them into the ultimate die-minimize piece that was adhered to the vellum shadow. They ended up extra working with Bearly Artwork Glue and this component went seriously speedily. I appreciate the procedure of die-minimize inlay – it’s like undertaking a jigsaw and it is fun seeing your “puzzle” consider shape!
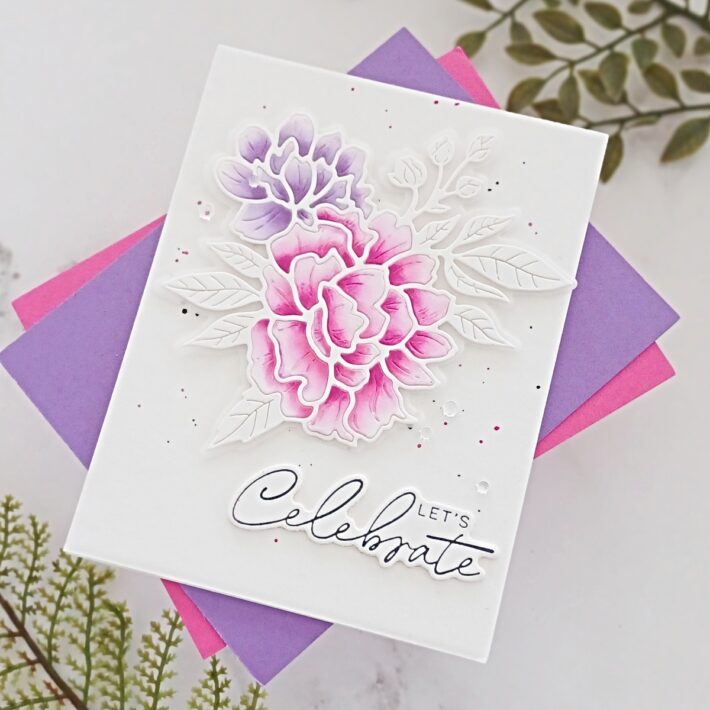
For my track record, I took a piece of BetterPress Porcelain card and utilizing Picked Raspberry and Black Soot Distress Inks and a little spherical brush, I splattered some drops throughout the panel. As soon as dried, I added my flower on top making use of foam tape.
The sentiment is from Let us Celebrate Sentiments Press Plate and Die Established and it was pressed using BetterPress Black Ink on to Porcelain Cardstock. I minimize it out with the coordinating die and reduce an excess layer so that I could make a compact stack. This was then extra to my card using Bearly Art Glue. I concluded by introducing some raindrops as gildings all-around the peonies.
Let us Celebrate
For my ultimate project, I am taking part in with the Floral Celebration Push Plate. I use the press plate on its possess but you can obtain a coordinating stencil set which you can use to “colour” it in.
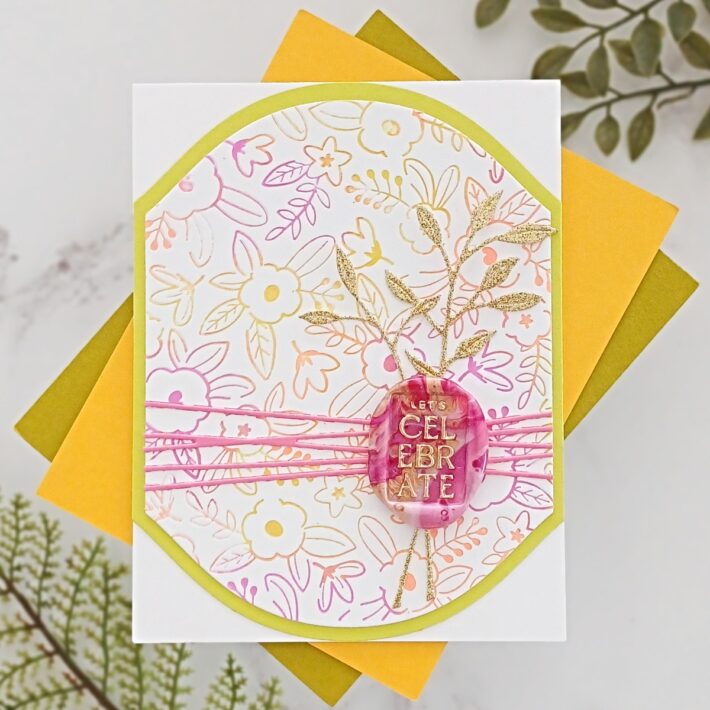
I placed the Floral Celebration Press Plate on to the BetterPress Letterpress System magnetic plate. As the plate is a little larger sized than an A2 panel, I taped an A7 piece of Porcelain Cardstock on to the underside of the platen. This way I can just lower out what I want.
I randomly utilized Tiger, Peridot and Wild Berry inks over the plate right before running the system as a result of my Platinum 6. I reinked the plate yet again, not stressing also significantly about getting the very same colour in the correct identical place, and ran it via the die-slicing equipment for a second time. As all these inks participate in well jointly, the randomness of application did not issue way too much,
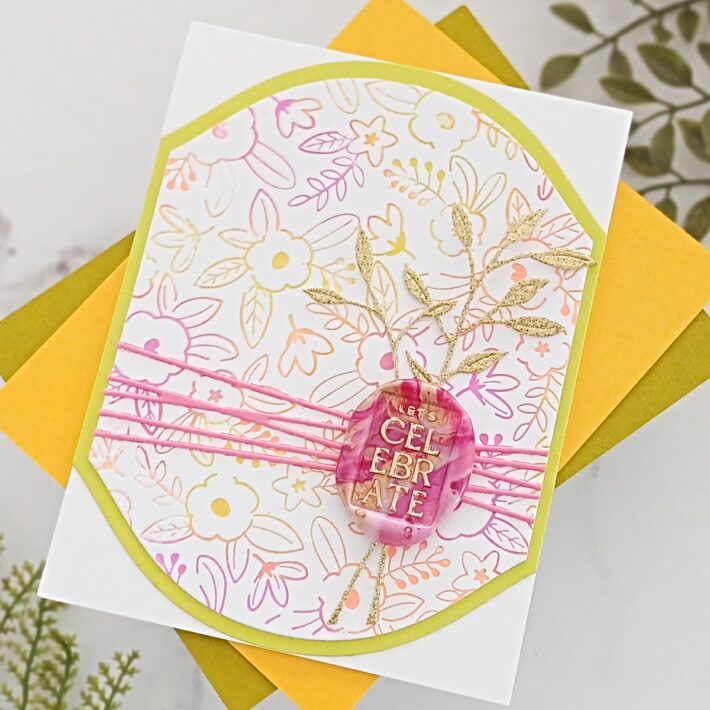
I trimmed the panel down with a die from Mirrored Arch Etched Dies and die slice yet another a little bit greater from Peridot Colour Necessities Cardstock and set individuals to one particular aspect.
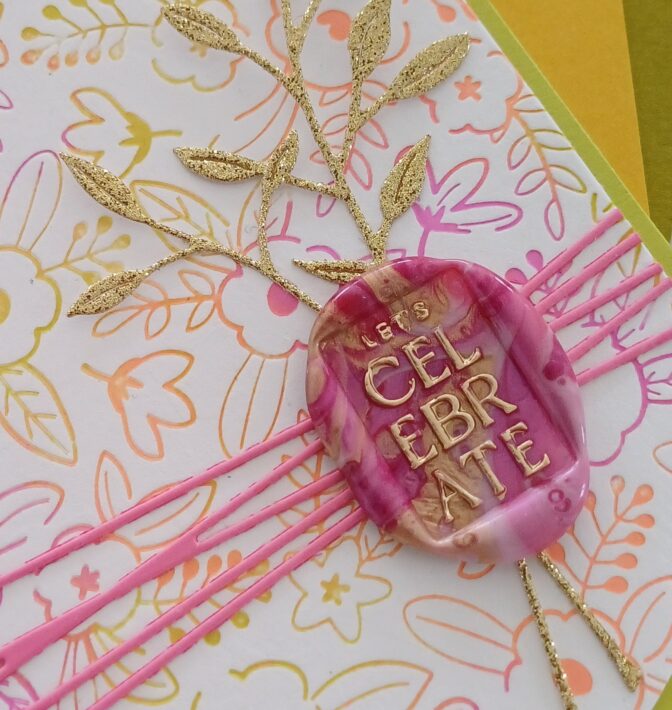
It was then time for a tiny bit of wax sealing! I melted all four diverse coloured beads from Have to-Have Wax Bead Blended Pink applying the Wax Seal Starter Kit. I then positioned the Let us Celebrate Wax Seal Stamp on to it, remaining it to amazing, and removed the stamp. I highlighted the letters employing a DecoColor Gold Metallic Marker. This seriously will help to convey out the letters and it is these a attractive gold!
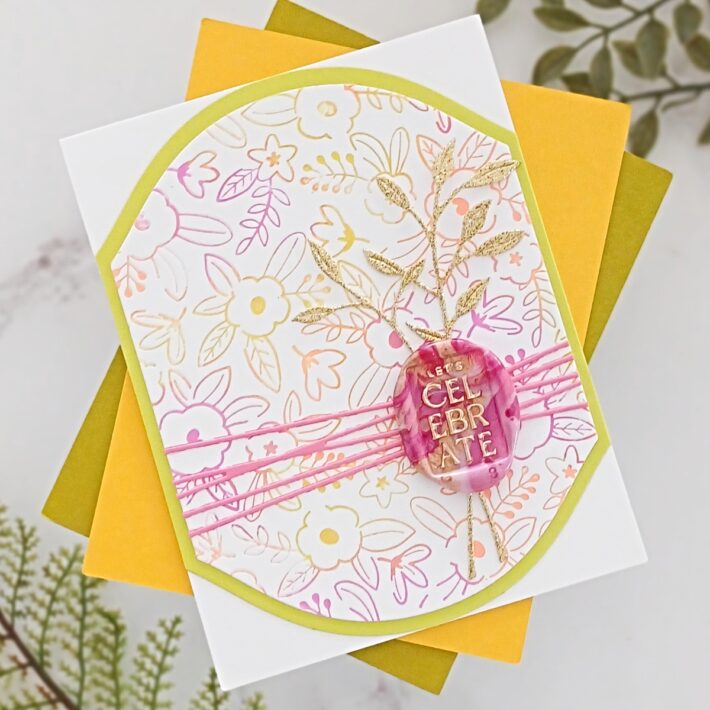
The Sealed Twine Etched Dies have been then slash from Fruit Punch Coloration Essentials card and adhered across my floral panel. I trimmed off the excess from the sides.
I thought I would add a handful of items of gold foliage for decoration so I took the Sealed Leaf Springs Etched Dies and minimize them from gold glitter cardstock. They have been adhered more than the pink strings and the wax seal then additional on leading working with double-sided tape.
To end, I just assembled the pressed panel onto the greater mirrored arch die minimize. These had been then included onto a prime folding 110lb A2 notecard.
That provides us to the close of my tasks for these days! I really hope that you like them and that they give you some inspiration for this gorgeous new assortment. If you would like to see additional of my cards, I would enjoy to have you join me more than on my website, Instagram, Facebook or YouTube. In the meantime, thank you so much for paying out time with me listed here on the weblog today. I hope that you have a fabulous day!
Spellbinders Supplies:

Other Supplies
Neenah Photo voltaic White Traditional Crest 80lb and 110lb card, Tweezers, Embellishment Wand, Slender Foam Tape, Good Idea Water Brush, Paper Trimmer, Hero Arts Glitter Paper Getaway Sparkle, Double Sided Tape, Altenew Shades Of Purple Dye Inks, Altenew Cherry Blossom Dye Inks, Waffle Flower Grip Mat 4.25” x 5.5”, Waffle Flower Shader Furthermore Brushes, Gina K Masking Magic, Garden Fawn Vellum 36lb, Distress Inks Picked Raspberry and Black Soot, Little Factors From Lucy’s Cards Raindrops.