Summer, Summer, Summertime… Flowers, Birds and Beautiful Sentiments!
- gracethrufaithgoods
- 03/26/2024
- DIY Tutorials
Howdy there! This is Lisa Tilson from My Card Vacation and I am satisfied to be again listed here on the Spellbinders blog site with you. Nowadays, I am sharing a few tips working with the beautiful new Copperplate Everyday Sentiments Selection by calligrapher Paul Antonio. In this BetterPress collection you have six beautiful scripty font sentiment plates masking a large wide variety of events. You can create timeless letterpress types with these plates and I hope I can get your creative juices flowing with how I have made use of them. Let’s get commenced!
Hi there
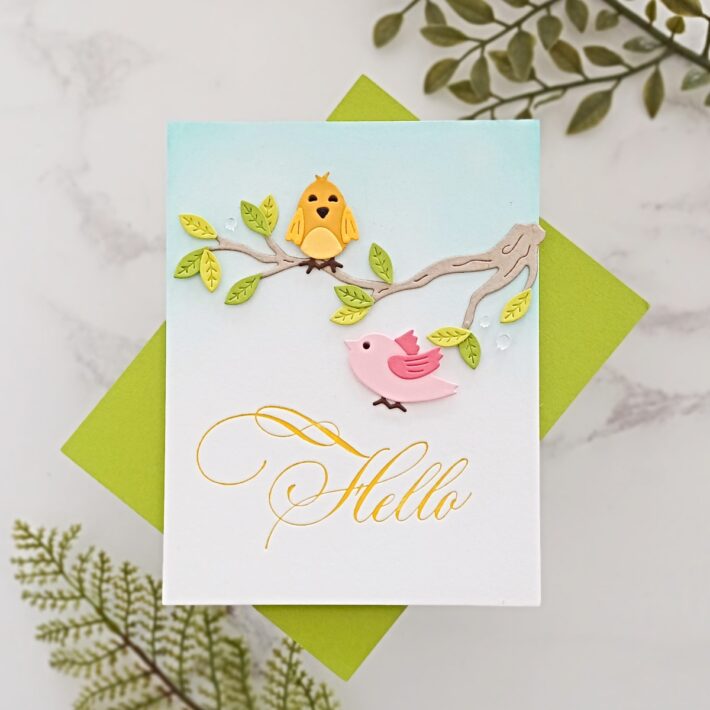
For my first project, I believed I would create my most necessary style of card – a normal “hello”. So the Copperplate Hello there Press Plate would function properly. Of course, you could use this plate on its own and it would be spectacular but I believed I would pair it with a thing else. I experienced a rummage through my stash and pulled out Sweet Birds On A Department Etched Dies which I had acquired a pair of many years back and hadn’t yet employed on a completed card. Aren’t they lovable while?
So, I started by taking an A2 panel of Porcelain BetterPress Cardstock and taping it to the underside of the BetterPress Letterpress Method very clear plate (platen). I then positioned the Copperplate Howdy Push Plate down onto the magnetic system and inked it up with BetterPress Saffron Ink. I popped the platen again about the magnetic system and ran the whole sandwich by means of my Platinum 6 equipment. For an individual who fairly frequently stamps/presses a basic black sentiment, I am actually having fun with using different shades for my greetings! It was the saffron-colored ink that dictated the shades of my birds.
Idea – planning your colours up entrance can help to make the in general completed structure additional satisfying to the eye. I typically start off by selecting on the colour for 1 singular element of the card, and then establish my other colours close to that. It may be a background, a flower, leaves or even a sentiment that kick-starts off this process.
Employing a mixing brush, I then blended Salvaged Patina Distress Oxide Ink on to the card panel, setting up at the top rated and fading out as it got nearer to the centre. I enjoy how uncomplicated it is to blend inks on this cardstock – they go on so smoothly. The texture of the cardstock is so stunning.
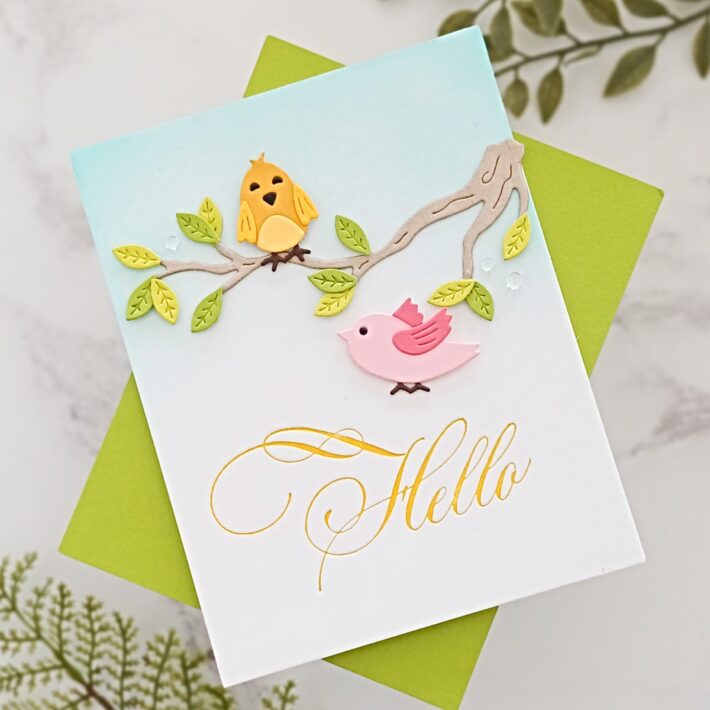
I set the panel to 1 side and then opened the Sweet Birds on A Department Etched Dies. I lower the leaves from Rainforest and Peridot Colour Essentials Cardstock. The birds are lower from Dahlia, Pink Sand, Tuscan, Saffron, Beeswax, and Onyx Color Essentials Cardstock. The feet were die-cut from a brown card that I experienced in my stash, and the department was die-minimize from Neenah Desert Storm 80lb card. I reduce the department twice to give it some dimension and security and adhered both of those pieces alongside one another applying Bearly Art Glue.
The birds were assembled utilizing moist adhesive and I popped a tiny skinny foam tape on to the again of just about every a person.
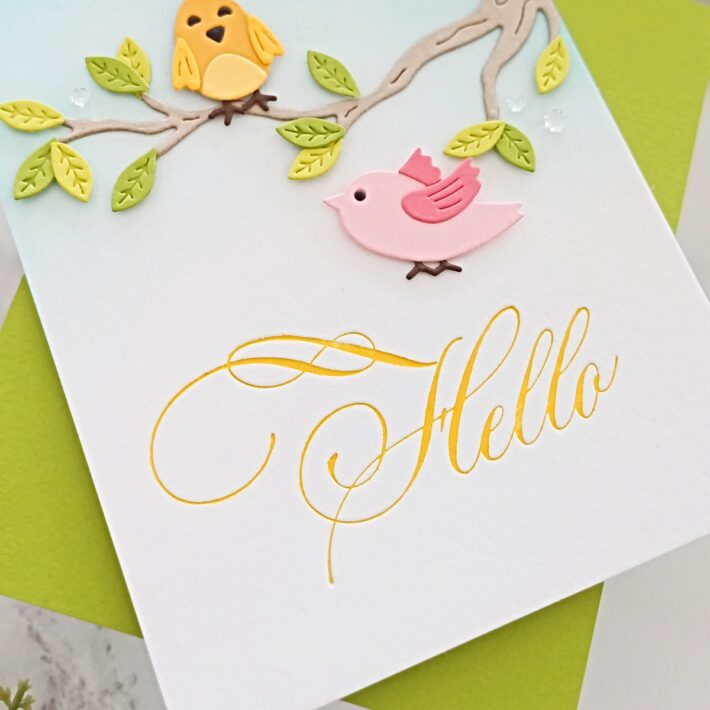
Suggestion – to insert in the beak and eyes, put a little piece of double-sided tape onto the again of the bird’s physique and then just pop the beak and eyes into location making use of an embellishment wand or tweezers.
I adhered the branch throughout the top of the panel and then extra the two birds. I then took each individual of the leaves and extra small bits of slim foam tape on to the back right before introducing them to the department.
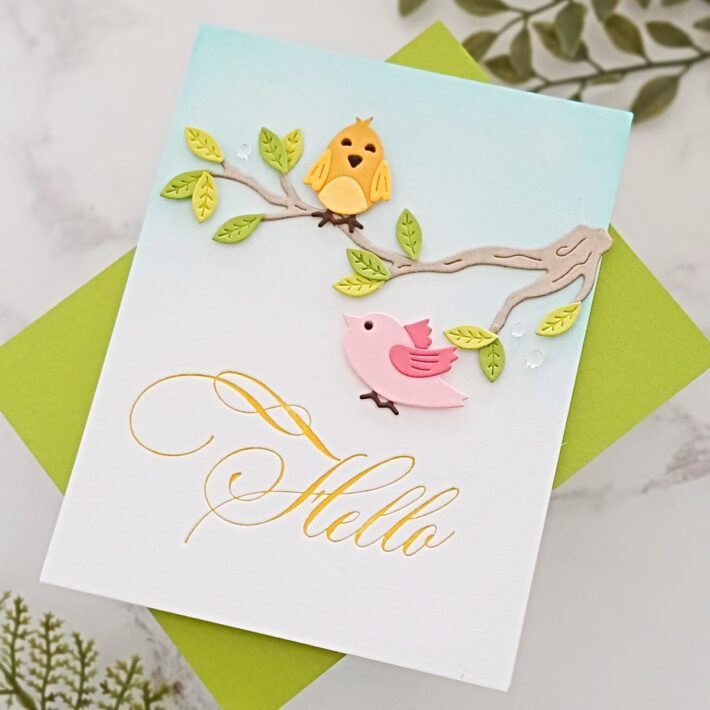
To end the card, I extra a number of distinctive-sized raindrops all around the branch and then included the panel onto a top rated folding white A2 110lb observe card.
Miss You
For my second card I reached for the Copperplate Miss out on You Push Plate. This is the simplest of my three playing cards but in some way took me the longest to make! I know that you will all understand how that goes! I very often veer away from black as it can be really hard to photograph but I thought this wonderful substantial sentiment would suit very snugly alongside the anemone and would seem fabulous if I foiled it in gold. And gold generally seems so putting on black.
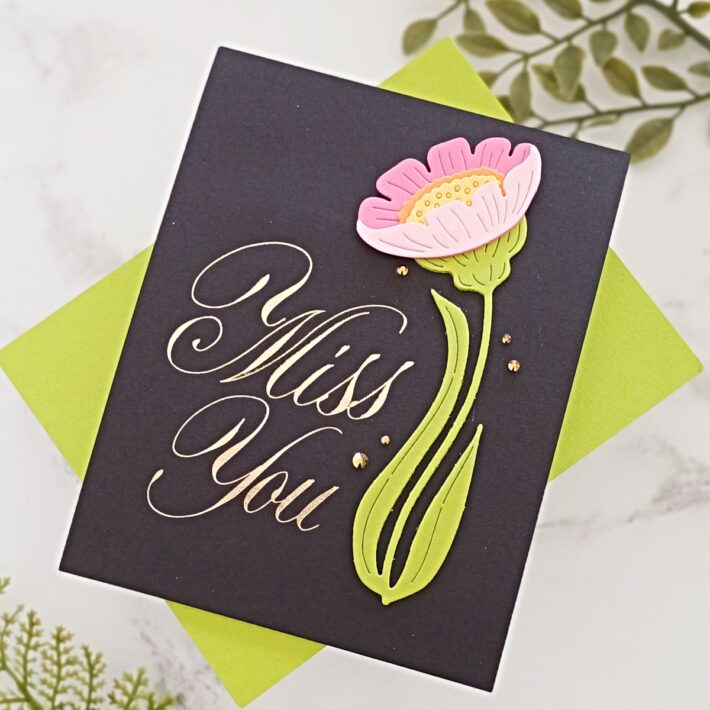
Foiling your push plates is a great way to get even much more use out of them and by and significant I have had fantastic outcomes foiling the plates, even on colored cardstock. From time to time you might have to have to play around with diverse foils or cardstock to get the finest impression but I bought fortunate with my very first foil!
I took an A2 panel of Onyx Colour Essentials Cardstock and foiled the Copperplate Overlook You Press Plate using Champagne Glimmer Sizzling Foil and the Glimmer Hot Foiling Program. The scripty font of these plates looks definitely amazing whether you press them or foil them.
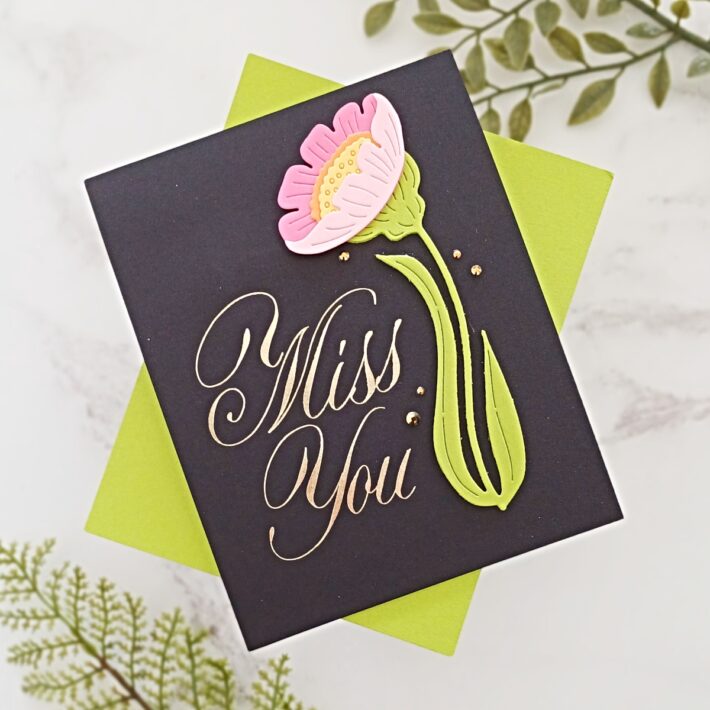
I then grabbed my Fresh Cut Anemones Etched Dies. I applied just one of the flowers and one particular of the stems from this magnificent set and die-cut all the individual elements. The stem was cut twice from Rainforest Cardstock and the two pieces were adhered alongside one another for steadiness the flower was die-cut from Pink Sand, Dahlia, Persimmon, and Beeswax card. I adhered the flower making use of Bearly Art Glue and then set it to a single side.
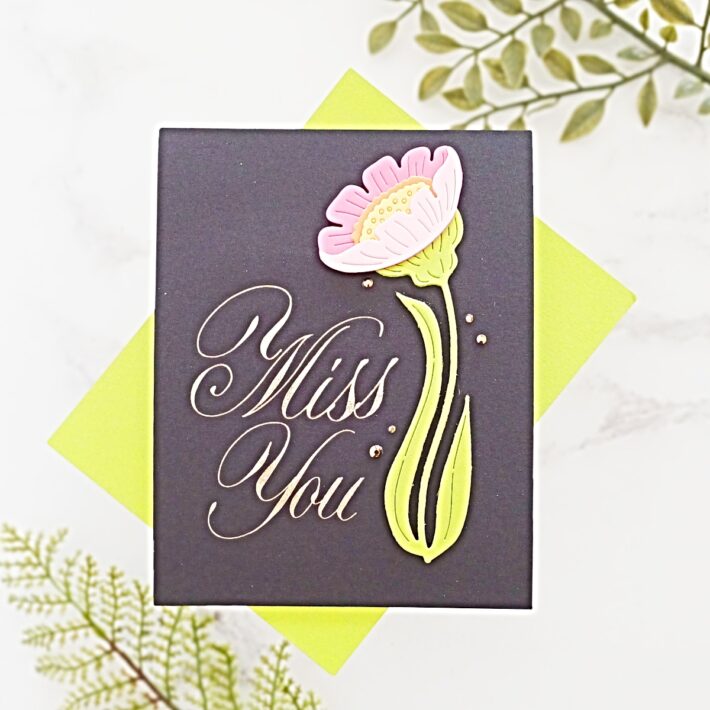
The foiled panel was included on to a top rated folding 110lb A2 white note card and I then adhered the stem to the suitable of the sentiment working with moist adhesive. The flower head was extra with some thin foam tape.
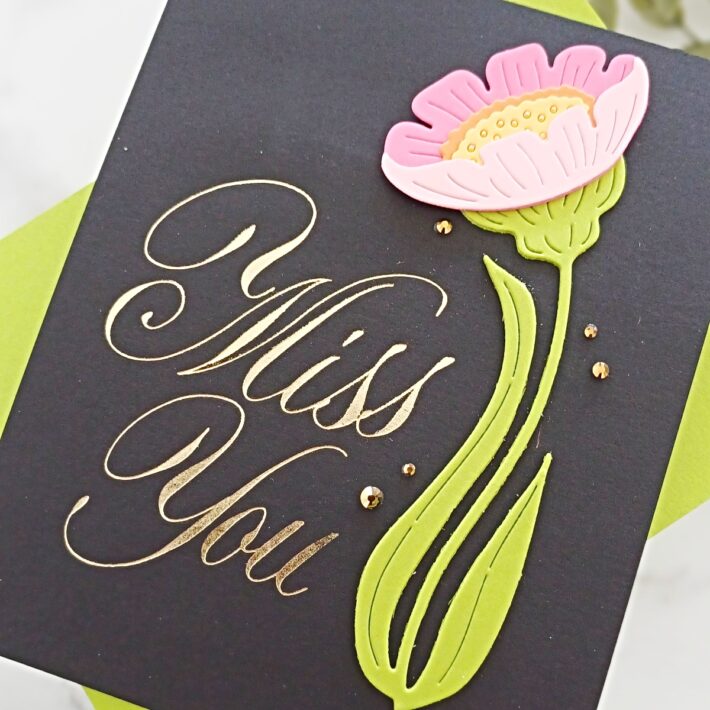
To finish the card I added some Gold Blend Coloration Necessary Gems. I was really content with how this card turned out – the curve in the flower stem worked so effectively with this sentiment!
Thank You
My last card is a bit additional busy than my other two but I never ever miss a chance to include far more flowers on to a card! I considered these very little bouquets would glimpse seriously rather framed about the Copperplate Thank You Press Plate.
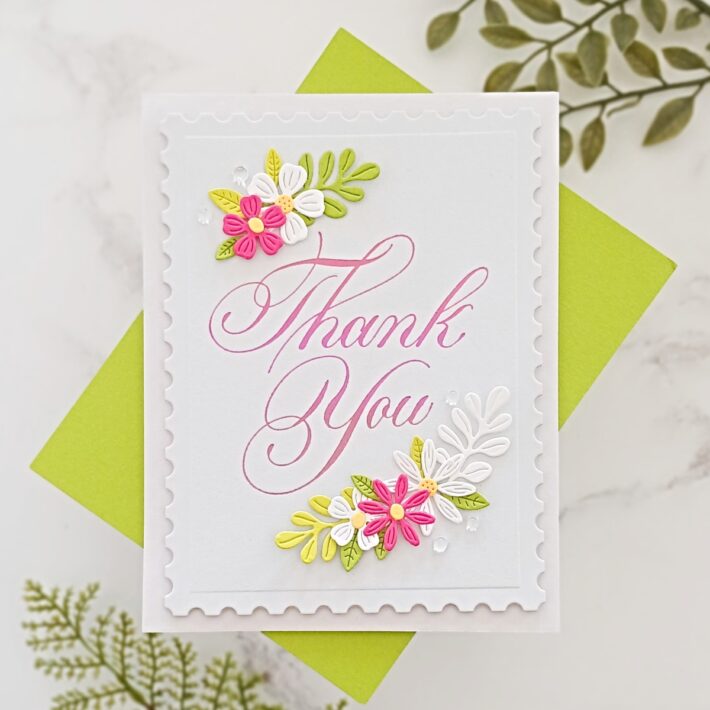
I commenced by taking the Thank You plate and placing it down on to the BetterPress Procedure magnetic platform. I inked it up with 3 various colors of pink BetterPress Inks – Garnet, Wild Berry, and Taffy (base to prime). I then taped some BetterPress Pebble Cardstock to my platen working with tiny items of Finest At any time Craft Tape. I snapped the obvious plate again on to the foundation and ran the sandwich via my die-slicing device.
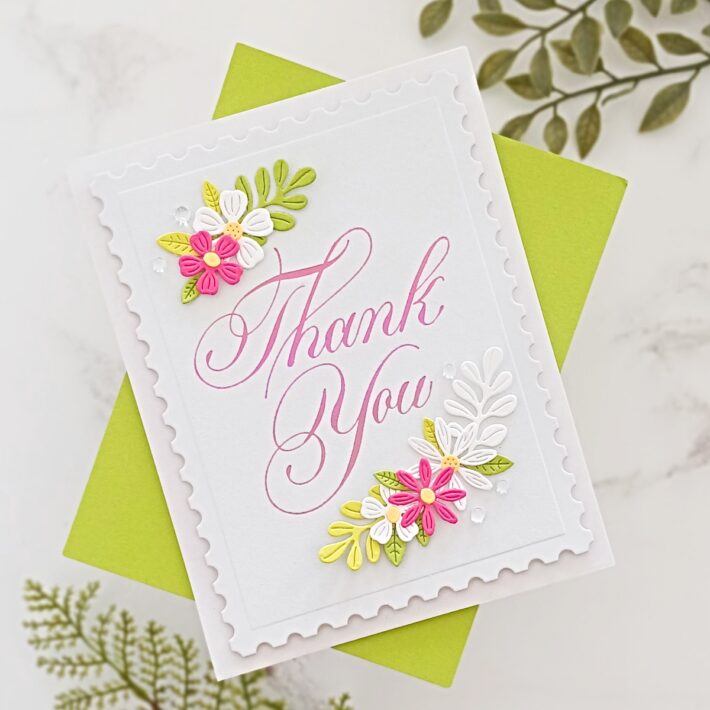
It is very challenging to see in the pictures but the different pinks are more noticeable in actual life and they certainly increase some further desire to the sentiment. I die-cut the panel employing the 2nd-greatest die from Postage Edge Rectangles.
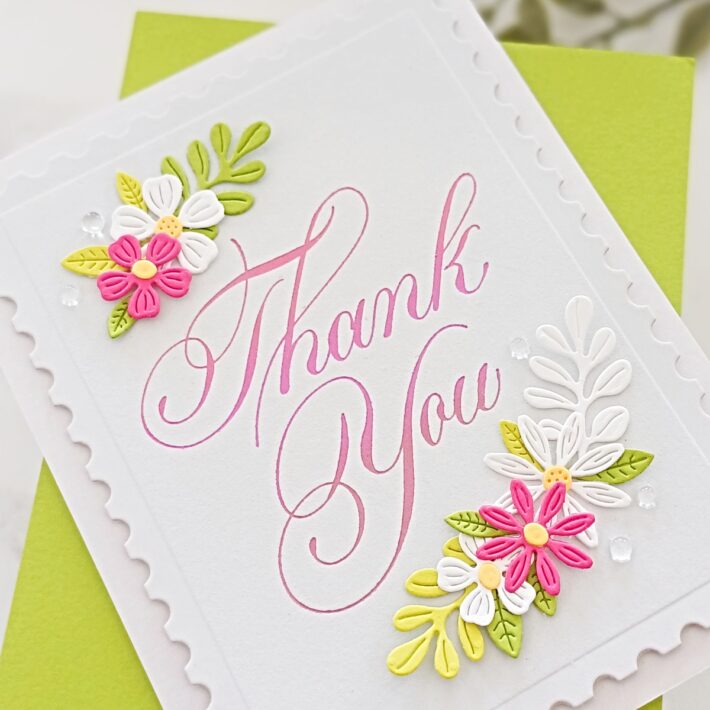
The Mini Blooms and Sprigs Etched Dies were die lower from Rainforest, Peridot, and Beeswax Color Essentials Cardstock. I also die-cut a pair of bouquets from white and magenta-pink cardstock from my stash. I assembled them making use of glue. The postage rectangle was adhered to a panel of A2 Fog Cardstock which experienced been added on to an A2 white be aware card.
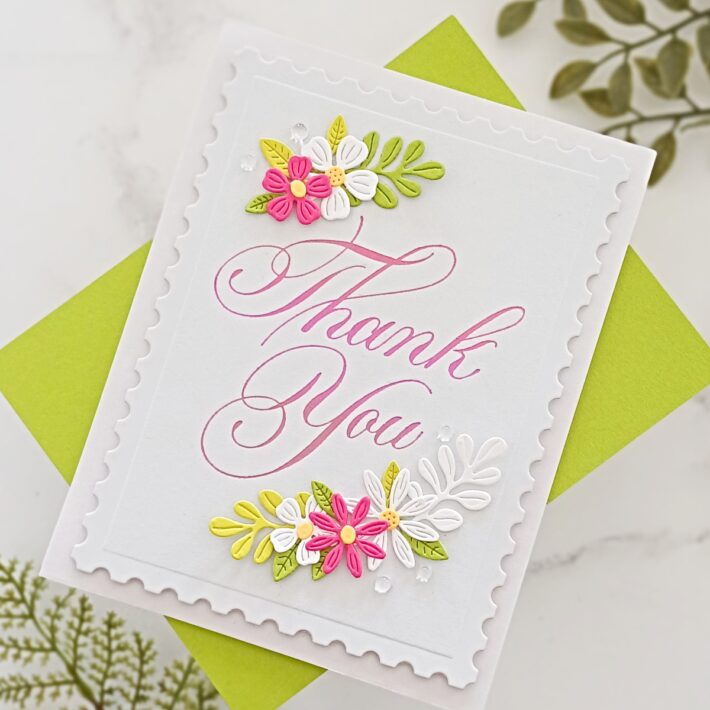
I then temporarily positioned the flowers and leaves about the sentiment right before finally adhering them with damp adhesive or foam tape. I completed off by including some raindrops close to the flowers.
That delivers us to the conclusion of my a few playing cards! I hope that you like them and that they give you some tips for developing with this wonderful new assortment of press plates. If you would like to see more of my playing cards, I would really like to have you sign up for me above on my website, Instagram, Fb or YouTube. In the meantime, thank you so much for paying your time with me in this article on the blog site now. I hope that you have a fantastic working day!
Spellbinders Supplies:

Other Materials
Neenah Photo voltaic White Basic Crest 80lb and 110lb card, Tweezers, Embellishment Wand, Thin Foam Tape, Double Sided Tape, Blending Brush, Hero Arts Woodland Cardstock, Neenah Desert Storm 80lb cardstock, Little Matters from Lucy’s Cards Raindrops.