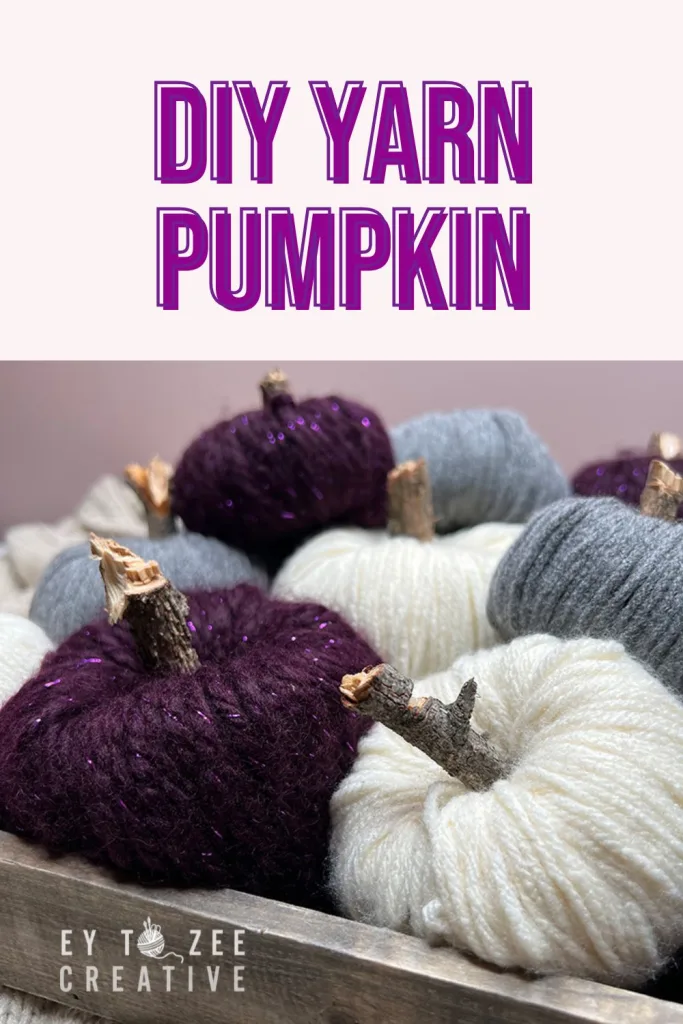
Creating DIY Yarn Pumpkins from Old Socks
- gracethrufaithgoods
- 03/28/2024
- DIY Tutorials
As the leaves commence to change coloration and a crisp breeze fills the air, there is no denying that slide has arrived. One particular of the most iconic symbols of this time is the pumpkin, and what much better way to celebrate its appeal than by crafting your really individual Diy yarn pumpkins?
No matter if you’re an knowledgeable crafter or a novice looking for a exciting task, this phase-by-action manual, we’ll present you how to rework discarded socks and a little bit of yarn into lovable yarn pumpkins that will infuse your room with the spirit of drop.
Observe this video to master how to create this cozy craft, or adhere to the directions down below.
Gathering Your Elements
Just before delving into the crafting system, let’s guarantee you have everything you will need. Here’s a in depth listing of resources to get began:
- Yarn in numerous slide hues or that complementary colors
- Scissors
- Little twig or cinnamon stick (for the pumpkin stem)
- Clear cumbersome socks
Move 1: Preparing the Foundation of the Pumpkin
1. Select socks that are thoroughly clean, bulky, and in good situation. Mismatched socks but of the same lengths are all right.
2. Use scissors to slice off the toe portion of the socks.

3 . Insert the two socks to generate a thicker foundation.

4. Roll the sock into a doughnut shape, developing the foundation for your pumpkin.

Move 2: Incorporating Texture with Yarn
1. Opt for a complementary yarn coloration and minimize many strands. Bulky yarns are preferable as they let for quicker wrapping and fill up area more correctly.

2. Start out wrapping the yarn all over the doughnut condition. Use your fingers to information the yarn inside of and all around the doughnut, making sure comprehensive protection. Tuck the ends of the yarn into the strands to safe them.
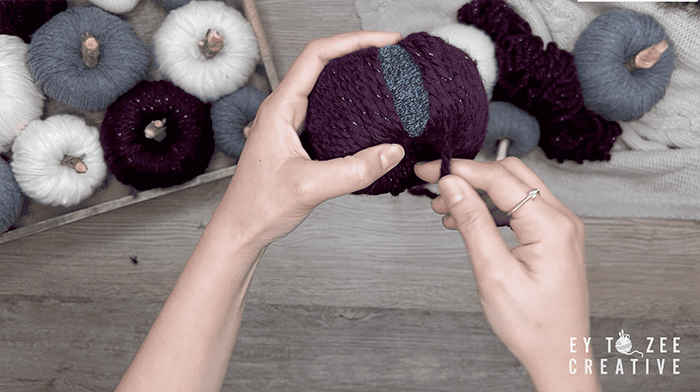
3. Layer the yarn a lot more densely in sure spots to reach the desired pumpkin condition and intensify the pumpkin’s ribbing.
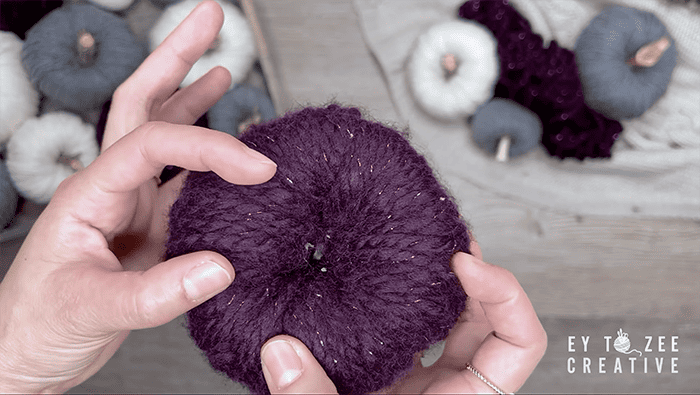
Step 3: Producing the Pumpkin Stem
1. Cut a twig to your wished-for stem length.
2. Insert the twig into the middle of the pumpkin. The thickness of the yarn ought to hold the twig in location, but you can also use very hot glue for extra stability if required.

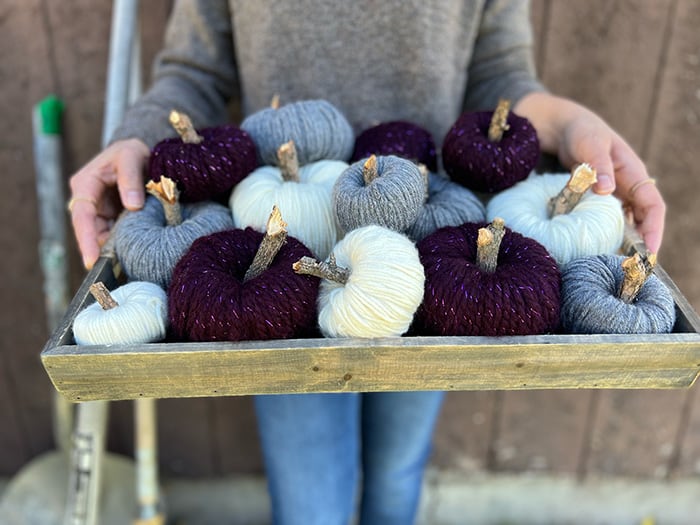
Crafting Do-it-yourself yarn pumpkins from previous socks presents an ingenious way to upcycle resources whilst infusing your residing space with the cozy ambiance of drop. As a result of just a few easy methods, you can transform discarded socks into charming pumpkin decorations that embody the attractiveness of the time. No matter of whether you’re a seasoned crafter or just venturing into this imaginative endeavor, this challenge presents an unbelievable probability to categorical your creative imagination and embrace the spirit of autumn. So, acquire people aged socks, retrieve your yarn stash, and embark on a crafting journey that not only delivers charm to your environment but also contributes to a much more sustainable and eco-friendly way of living.